Page 2 of 2
Posted: Sun Dec 01, 2013 10:19 pm
by Cameron_z6a_N.S.
I did end up finishing this bed (except for planting the cacti), and I'll make sure to post some pics soon.
Posted: Mon Dec 02, 2013 7:56 am
by hardyjim
I was just thinking...looking at these pics again,that it would have
been cool to make that into a Koi pond,probably need to be lower
at the high end and deeper downhill if it isn't to steep but it would
be cool to have a big water feature with tropicals around it-if this was
my house I would have done some kind of water garden with fish
and what not...will be interesting to see how this turns out

Posted: Thu Dec 05, 2013 4:06 pm
by TimMAz6
Hi Cameron
keep the updates coming! PS how are the Loquats, Citrus and Eucs fairing?
Posted: Tue Feb 25, 2014 12:44 pm
by Cameron_z6a_N.S.
Here are the rest of the photos after a long delay.
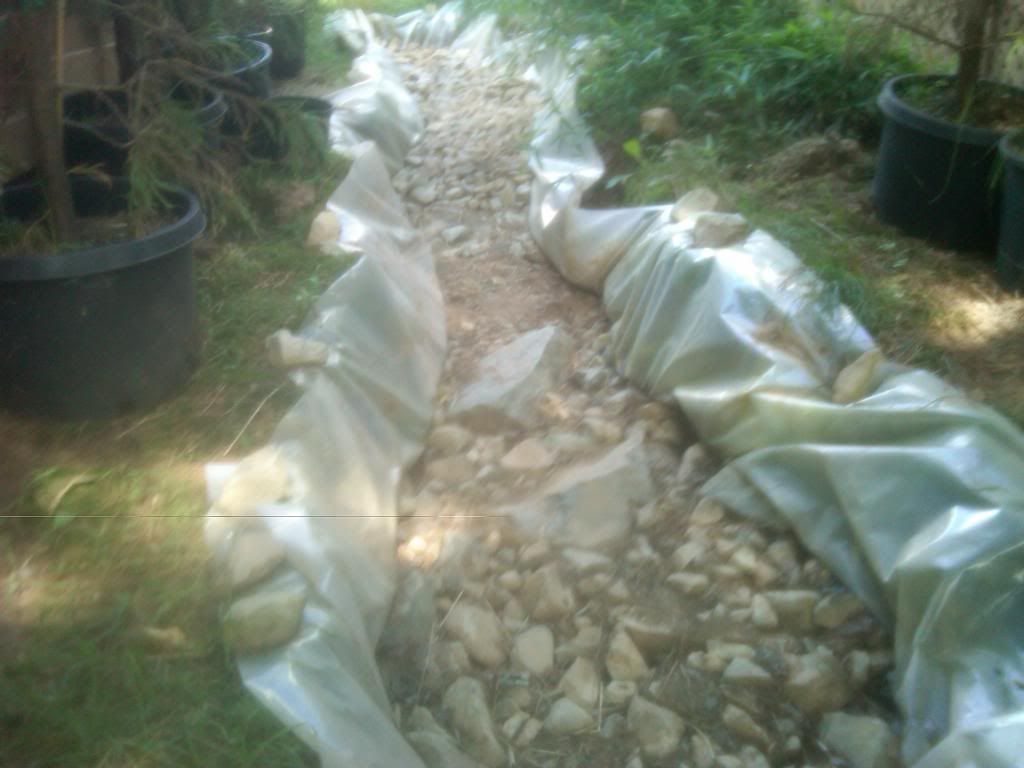
Here's what the bed looked like at the start of this past summer. I had to stop work on it during the previous fall when it started to snow. You can see that some dirt and leaves ended up falling into the bed, but overall the winter was a good thing because the weight of all of the snow helped compact most of the rocks. It was at this point that I decided to reduce the size of what was going towards cacti. The lower half of the bed was just slightly too shady, so I figured that would be a good spot for other plants. You can see that I then started piling the rest of the remaining rocks on the upper half, for the best drainage:
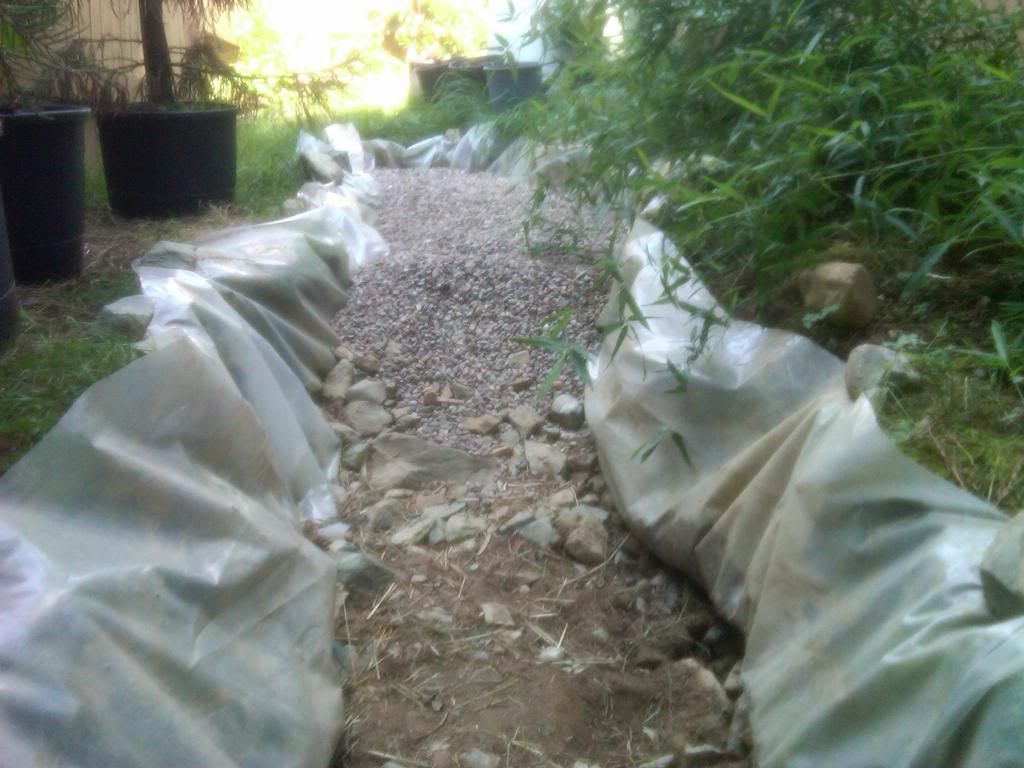
On top of those rocks, I added maybe 20-30 cm (8"-1') of pea gravel. I purchased at least 750 lbs of pea gravel, and probably 2/3 of it or more was added during this step:
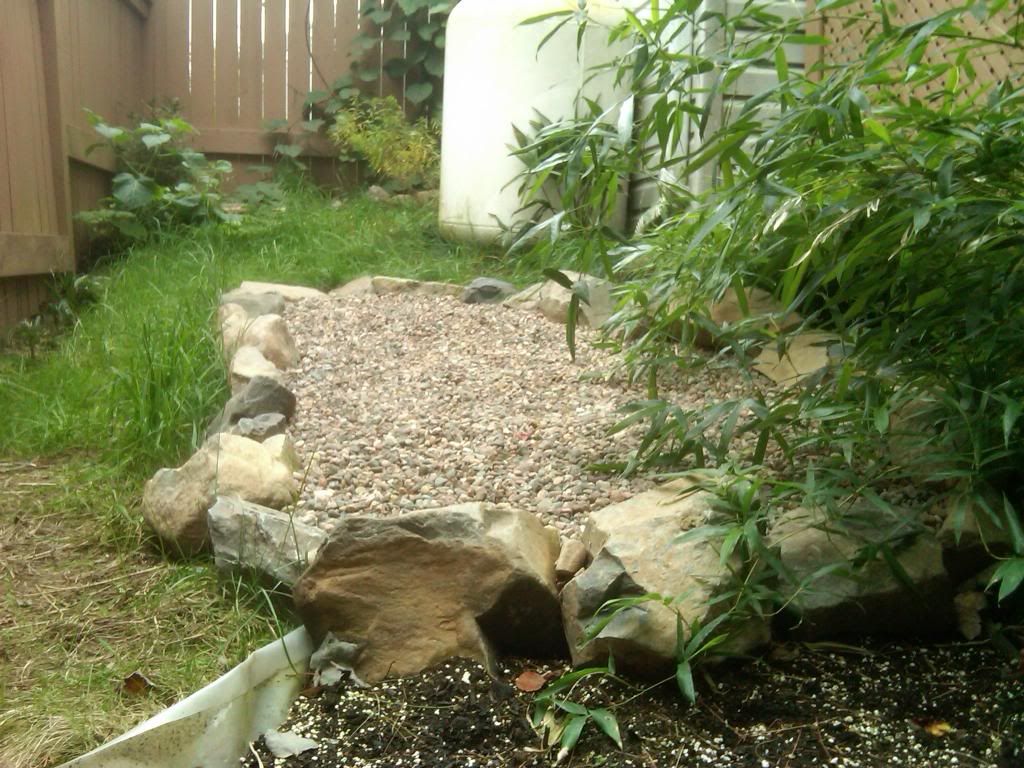
Above that pea gravel, I added around 15-20 cm (6-8") of soil. I also surrounded what was now the entire cactus bed with a border of large rocks, most of which had been pulled out of the hole as I was digging it!

Posted: Tue Feb 25, 2014 1:04 pm
by Cameron_z6a_N.S.
On top of the soil, I added the remaining 15 cm or so (6") of pea gravel. It was easily contained by the surrounding border rocks, and the fact that this portion is raised above the surrounding soil will really help with drainage:
Another angle. The bamboo can easily be tied up so that it doesn't droop over the bed anymore. As well, once the culms start growing larger and straight up, they won't be affecting the amount of sun over the bed at all:
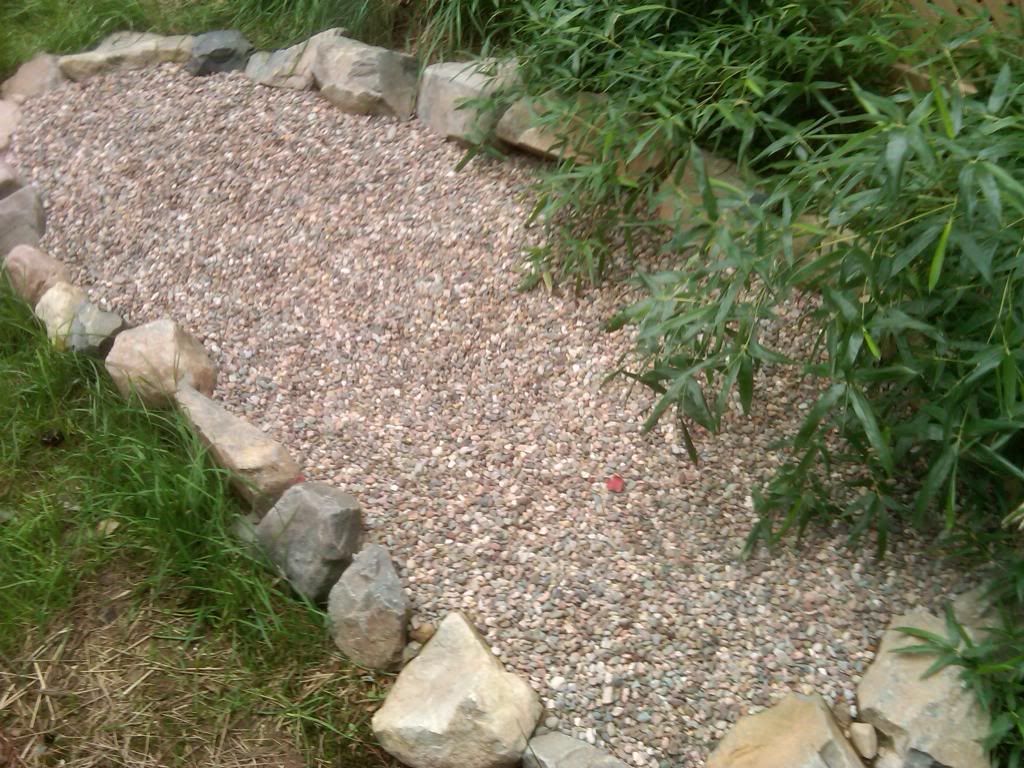
So that's the cactus bed now finished (other than adding some decorative rocks and actually planting things)! I'll post some photos of the progress on the other portion of the bed shortly.
Posted: Tue Feb 25, 2014 2:35 pm
by lucky1
Thanks for the update Cameron.
I wondered how that project had worked out.
Look forward to the planting part.
Barb
Posted: Tue Feb 25, 2014 2:40 pm
by Cameron_z6a_N.S.
No problem!
Jim, I already have a small pond

Tim, I lost several plants due to low light through the winter, as well as the loquats due to a cold winter. There was one small loquat surviving in the fall, but it was crushed by workers. I'll have to see if it resprouts in the spring.
Posted: Tue Feb 25, 2014 3:53 pm
by Cameron_z6a_N.S.
Here's what I did with the lower half of the bed.
I was only planning on keeping one MP tree for myself, but another looked too damaged to sell, so I planted both. I don't have high hopes for the sickly one (further back, towards the bed), and am not even too sure about the healthier one after the absolutely brutal winter that NS has had. Time will tell. Either way, with their thin branches and the position of the bed, at this point they won't be blocking out much sun from the cactus area. I'll plant a couple things in between them, and if one or both die, I'll plant even more. Here they are shortly after they were planted. You can see that I used granite rock around this portion of the bed, so it looks a little different than the cacti area:
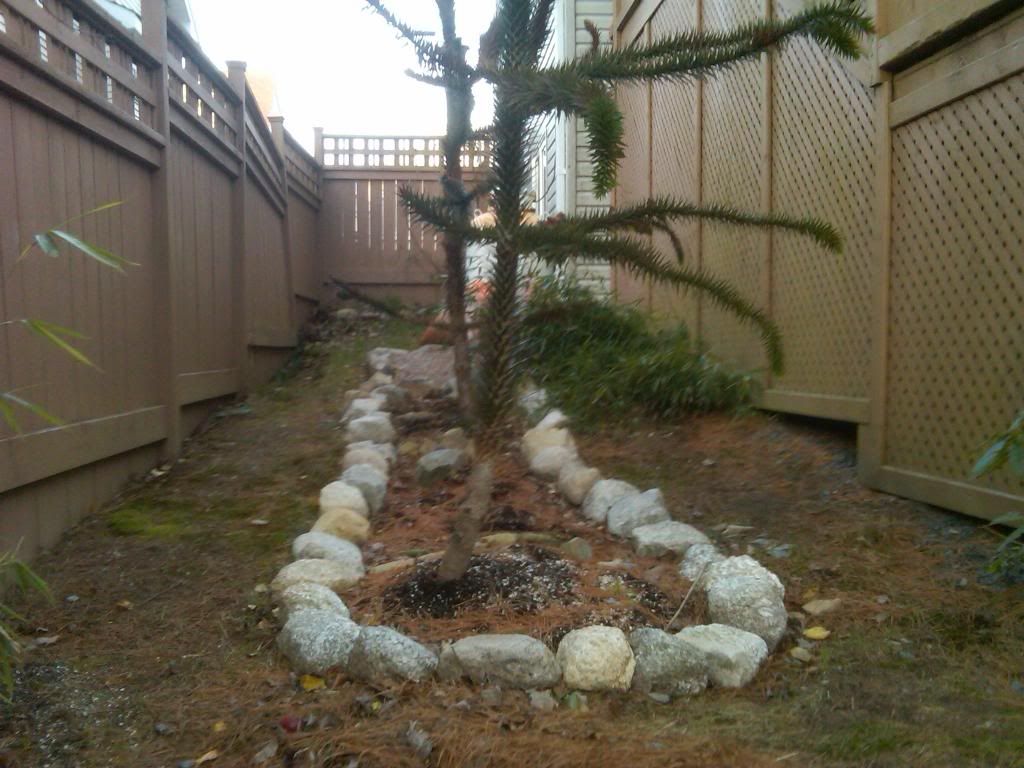
And again:
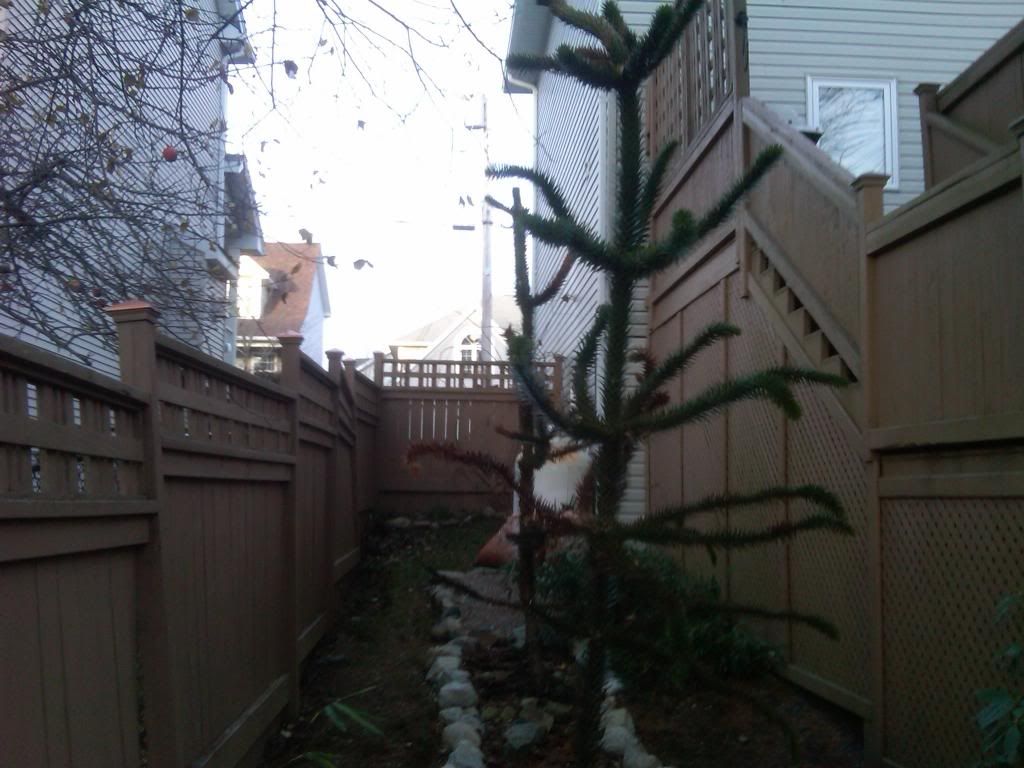
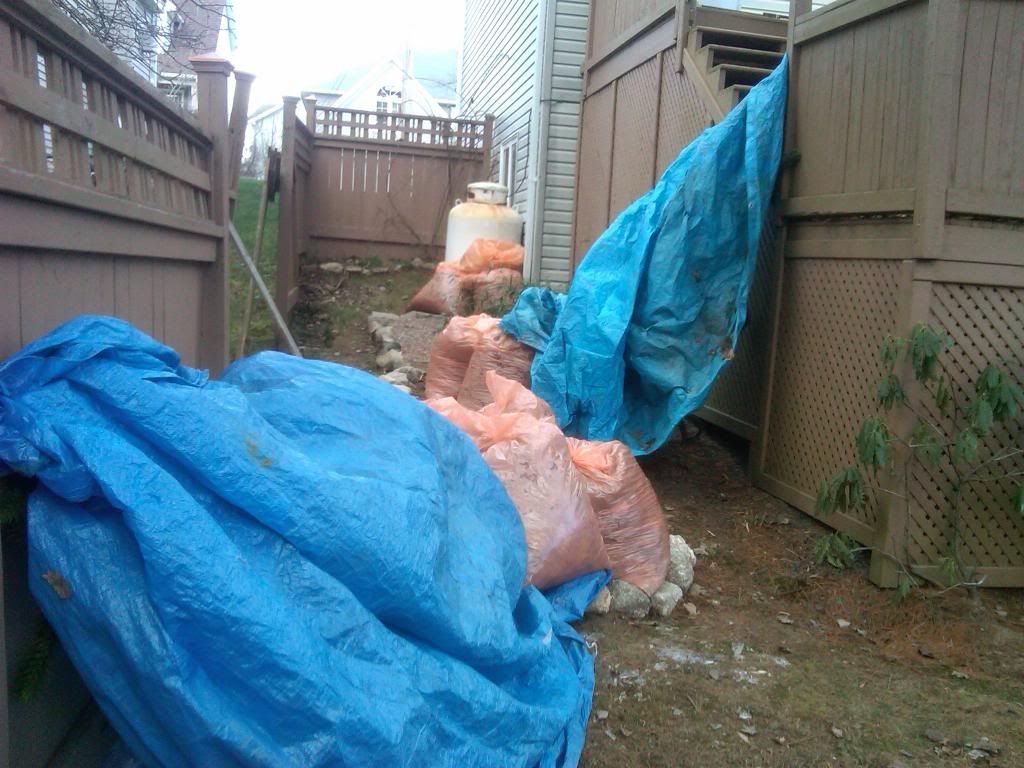
Both trees were fine, and did not seem to need any support when they were planted. However, in early December, hurricane-force winds (you can judge by my broken fence and deck) knocked the trees over. I managed to get them standing again, but this was followed by a quick drop in temperatures, plus low temps of -23 C (-6 F) this winter. I'm sure that the roots have been damaged, so spring will show whether either of them have survived:
That's it for now!
Posted: Wed Feb 26, 2014 2:35 pm
by TimMAz6
Hi Cameron
thanks for the update. I'm glad you planted 2 Monkey Puzzle trees. I hope they get through this cold winter. Mine has some bronzing leaves but should be OK.
Do you have any positive surprises after the past two cold winters??
Posted: Wed Feb 26, 2014 7:37 pm
by Cameron_z6a_N.S.
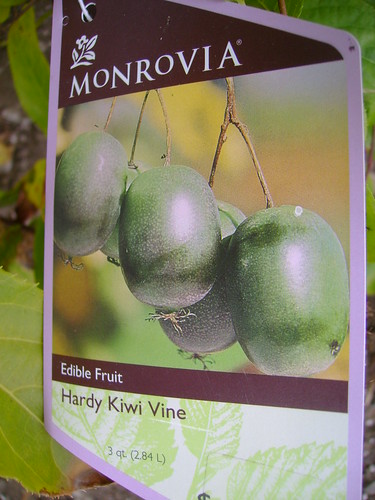
Tim, one positive note would be the hardiness of the fuzzy kiwi (A. deliciosa). They survived cold temps last winter, and hopefully this winter as well. I remember Igor posting a photo of his vine which I believe took -25 C or so. Many online sources only rate them to zone 7a/b.
Posted: Sat Mar 01, 2014 5:16 am
by TimMAz6
how large are those kiwi fruits?
Posted: Sat Mar 01, 2014 8:14 am
by lucky1
I planted a kiwi in early October.
No protection.
That'll be quite the winter test.
Barb
Posted: Sat Mar 01, 2014 5:11 pm
by Cameron_z6a_N.S.
Tim, this is the same species commonly seen in grocery stores. Hopefully my plants will fruit this summer.
Barb, what type of kiwi did you plant? They like a fair amount of water in the summer!
Posted: Sat Mar 01, 2014 9:22 pm
by lucky1
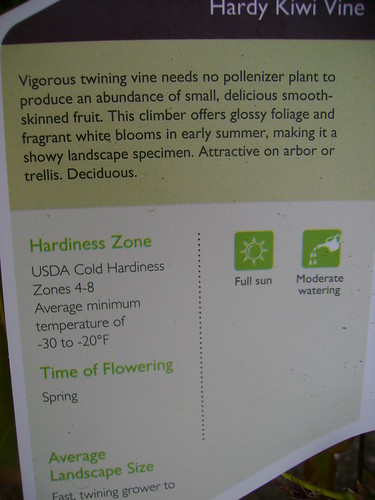
"No name" brand, Cameron.
I've planted it under a trellis near a door.
Hopefully I'll remember to give it a bucket of water a day; no sprinklers there, facing south.
If it's not already a dead stick after this winter.

<a href="
http://www.flickr.com/photos/southslope/10318163936/" title="022 by edible_plum, on Flickr"><img src="
http://farm4.staticflickr.com/3724/1031 ... 93aa92.jpg" width="375" height="500" alt="022"></a>
<a href="
http://www.flickr.com/photos/southslope/10318116374/" title="023 by edible_plum, on Flickr"><img src="
http://farm4.staticflickr.com/3819/1031 ... 08bda0.jpg" width="375" height="500" alt="023"></a>
Barb
Posted: Sun Mar 02, 2014 5:33 am
by igor.glukhovtsev
This is Actinidia arguta Issai self fruiting variety.
Posted: Sun Mar 02, 2014 11:08 am
by lucky1
Appreciate the ID..

Thanks.